Category Archives: Tips

Tips & Tricks from the Past Year!

tipsandtricks800

Photo by Andrea Scher

While it is really important to me that the classes I teach are more focused on self-love through self-portraiture than learning the technical side of taking self-portraits (though I’m available to help you work through technical issues or questions during the class).

This is partially because there is already a lot of information about it out there and not enough information about how to find self-love & healing thorugh self-portraiture.  As well, it is because the technical side of photography can sometime get in our way of exploring it in an experiential and playful way!

BUT

On the other hand, I’m kind of a big geek about the technical side! I love figuring out how to do neat things with my camera and discovering new apps & tricks.

So this past year I’ve had so much fun sharing lots of tips & tricks in the form of blog posts!

I thought I’d gather them all together for you in today’s post…the tips & tricks posts from the past year.

I’d also LOVE to know if there are any questions you have, or things you’d love to see a tips post about next year!!

[ezcol_1half]

bathroomtips400

Tips for Taking Self-Portraits in Your Bathroom!

[/ezcol_1half] [ezcol_1half_end]

iphone400

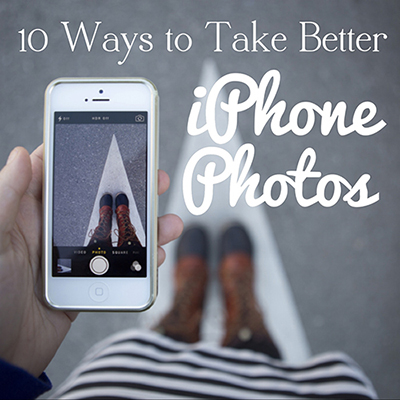
10 Ways to Take Better iPhone Photos

[/ezcol_1half_end]

[ezcol_1half]

double400

Tips for Taking Double Exposures

[/ezcol_1half] [ezcol_1half_end]

camera

How to Step Out from Behind the Camera

[/ezcol_1half_end]

[ezcol_1half]

gear400

Lets Talk about Gear!

[/ezcol_1half] [ezcol_1half_end]

blur400

Creating Intentional Blur with an iPhone

[/ezcol_1half_end]

[ezcol_1half]

macro400

Tips for Taking Macro Photos with an iPhone

[/ezcol_1half] [ezcol_1half_end]

image400

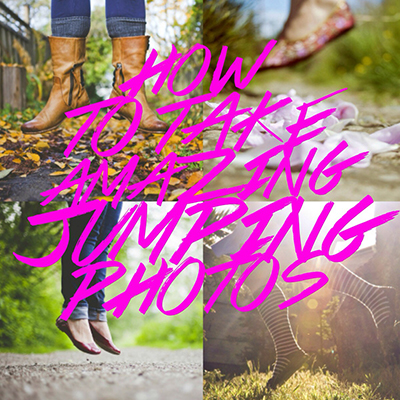
How to Take Amazing Jumping Photos (in 9 Playful Steps)

[/ezcol_1half_end]


10 Ways to take Better iPhone Photos (especially Self-Portraits)

iphone500

Before we dig into this, I want to say that I actually already think your iPhone Photos are awesome.

To me, its not about how fancy a photo we take, or how technically perfect it is.  Its that we pull out our camera and seek out things that inspire us.

This post isn’t actually about telling you what you are doing wrong.

It is about letting you know a few more tools you can do to make your photos shine.


Use the Camera included in the Phone (as opposed to an App)! 

Apps are awesome.  I wholeheartedly agree.

The challenge with Apps is that often they shrink down the quality of a photo.  My preference for taking photos with my iPhone is to use the camera included in the phone as it will save the biggest file size.  Not just that, but it actually has some great features that aren’t a part of Apps (and yes, I’ll spill all those tricks in this post)!

I usually tend to shoot in the in-phone Camera and then import it to whichever App I’d like to process it in!  This gives us the greatest creative control over our photo.

Not just that, but often the photo is taking much quicker using this camera.  Have you tried an app that feels like an old school point and shoot, taking forever to take the photo?  Especially if you’re trying to take a photo of motion, using this camera allows us to capture the photo much quicker (which might be exactly what you need to capture that one photo you love.


Explore Focus & Exposure in your iPhone!

You might already know this one, but when you touch the screen when in Camera Mode, you control both focus & exposure!  Yes, we can totally just hold our camera up and take the photo without choosing to play around with the focus & exposure, but it can be oh so fun and make our photo even stronger to do so! To play around with this, just touch the screen at different spots and see what happens.

A big part of the exposure of a photo on our iPhone is how it interprets light and dark in our photo.  To get to know this aspect of our iPhone camera even more, play around with touching really exposed parts (like the sky in a photo) or really dark parts (like a shadow) and see how it alters the photo as a whole!  If I’m looking to find something in a photo to define the exposure for it, I’ll often choose something in between light & dark, between black & white…often touching something on your screen that is green allows for a great exposure.

Again, there is absolutely no need to do this in order to take a great photo, but it allows us just a bit more control which can help take a photo from something that we ‘like’ to a photo we ‘love’!


Use the AutoFocus feature 

Now, there is an awesome feature to your iPhone camera that is really subtle (oh how I wish they boldly told you it was there).  It is the AutoFocus feature.

Here’s how it works.  If you put you put your finger on the screen of your in-phone camera you will see a yellow box appear where you are touching it and telling it to focus.  That itself is awesome and is the way to get a ‘DSLR-like’ photo with great aperture and blur in the background!

You can take it a step further and keep holding your finger there and what will likely appear is a little yellow rectangle saying ‘AF Lock’.  When that appears you have now locked in your focus.  This is SO fun as it allows you to move the camera around without having the focus change.  This can be great for getting Macro Photos and also for experimenting with doing intentional blur!


Explore both the Front & Back Facing Cameras.

You might already know this too, but those cameras on the front and back of your phone…they aren’t made equally!

The one that faces you as you are looking at the camera (and makes it easier to take arms length self-portraits) well, unfortunately, that one isn’t nearly as good quality as the one that faces outwards!

Normally, I still use the lesser quality camera but if you are finding that you’d like an even better quality photo (less noise or a less grainy look to it) try using that other camera!  If you had (or still have) an old school 3G iPhone, you’re probably well skilled at taking photos (and self-portraits) using that camera anyways.

Just something to remember if you’d like the up the quality of the photo!


Get that Phone Outside (and learn about light)!

This might be the most important one.  Photography is all about light and when we are shooting our photos indoors, we simply don’t have as much light to work with.

When we get outside with our iPhone, our photos will just naturally be a better quality…and that might make all the difference in how we feel about the photo!

Not only that, but when we take photos & self-portraits outside, we get to learn more about the ever-changing, incredible world of natural light (if you’d like to learn more, the Light Hunters class is all about just that..exploring & falling in LOVE with Light)!


Look into the Lens!

I think often when taking self-portraits this can make such a big difference in how we see ourselves in a photo.  Yes, the lens on an iPhone is little and hard to notice sometimes, but when we look into it…we engage in our photo.

That little detail often makes SUCH a big difference!


Explore HDR 

I thought HDR was kind of cheesy (and still think it is sometimes) but that HDR feature on your iPhone…its actually really cool.  It takes 2 photos at a time and then layers them to make your photo even crisper, even richer.

This can be so fabulous for landscape & outdoor photos but it can also be amazing for self-portraits and portraits too.  It also saves 2 photos to you camera (so you can always pick the non-HDR photo if you’d like) so you have lots of options.  Using it regularly does make our storage fill up quicker (as there are double the photos) but often it is SO worth it!  It does a way better job than the ‘HDR-ish’ feature on Instagram so if you have preconceived notions of HDR being cheesy (like I did) I recommend putting them aside for a bit and getting playful with this feature as it has helped me take even stronger photos!


Find What ‘Grip’ Works for You!

Another reason we might not love a photo is if it is a bit out of focus.  Often that can simply be that our hands shake as we are holding it.  So taking a bit to ponder what kind of camera grip works best for us can really help that.

Do you want to hold it with one hand and click the shutter with the other?

Do you want to hold it so you can press the shutter with the volume button (and did you know that was an option)?

There are lots of different ways to grip your camera to make it more stable for you (and you can also get a small tripod for it if that helps too).


Put Your Camera Down and Step into the Frame!

With any camera, including an iPhone, being behind the photo is oh so fun…but when we step in front of the screen something powerful happens.  We can be both the photographer and the subject.

Taking arms length photos is fun & fabulous but when we set a timer (like using the Gorillacam App for iPhone) we get to let go of the camera and let our whole selves into the photo.  For me this was pivotal in terms of using self-portraiture as tool for healing body image.  Letting go of the camera allowed me to really be in my body and take a moment to ground, or move.  This made ALL the difference in the way I saw my photo.

Oh, and I know this an iPhone-focused post, but for those of you with Android Phones, you actually don’t need an Android version of Gorillacam as there is actually a built in timer!  I don’t know all the features of Androids (as I don’t have one) but from helping people learn about their Androids in workshops this fall, I discovered that there are a lot more amazing features to your phones too than you might know…be sure to check the settings button to see what awesome features your phone has!


Use it to its Capacity (and Take LOTS of photos)

Yes, you might be thinking…if I just get the newest iPhone, that will have me able to take better photos! While it is true that the camera in the iPhone improves with every version of it, if we focus on the quality of the camera as being the only thing that takes a good photo, we are wrong…you take a great photo.

So with all camera gear including iPhones, I think there is great value in using it to its capacity.  Get to know all these features, take lots and lots and lots of photos, keep shooting, keep experimenting, keep learning about light, keep getting outside, keep seeking new things to capture, keep turing the camera on YOU to tell your story.

The more photos we take, the more we will get that one we love.  If we discount our skill or our value on just one photo (espeically when in comes to self-portraiture), we miss out on the opportunity to keep developing our photographic eye!


Yay! I hope that makes you want to run outside right now & experiment with your iPhone! If you do, be sure to tag #beyourownbeloved on Instagram if it is a self-portrait or tag me @viviennemcm to see a photo inspired by this post (as I’d love to cheer you on)!

Happy iPhone Adventuring!

Oh…and if you are interested in learning more about taking better photos with your DSLR too, come check out the Beloved Camera E-Book!

compassion600

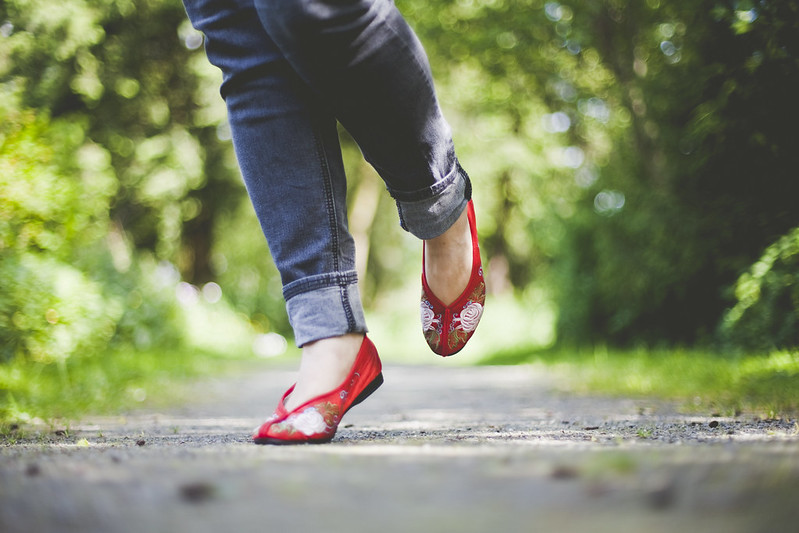
Behind the Photo {Shooting from the Ground}

red shoes dancing

During my courses, I welcome questions about the technicalities of taking photos, even if the course isn’t technical (YAYOM is the course that covers all sorts of technical info in an accessible way).

Often it comes through with the question ” How did you get this shot?” in reference to a specific photo.

So I wanted to start a bit of a feature here exploring some of the ways to get self-portraits (and other photos) with all sorts of camera gear. I’ll also be telling it like it is and share how quite often I just use what is at hand, including propping my camera on a garbage can or using make-shift gear like your bike seat as a tripod). I’ll tell you some of the stories of how I got a certain photo…so if there is a photo or a type of shot you’ve been wondering about, don’t hesitate to ask!


One of the most spontaneous ways to shoot a self-portrait is to just put your camera on the ground!  So I thought where better to start but from where we stand.

Shooting from the ground is pretty simple.  I usually bring along a scarf and put my camera on top of it to protect it.  You could also put it on top of your camera bag (though as you’ll see when you try it out, a photo a foot off the ground often looks much different than right on the ground).

Shooting from the ground invites a whole cast of potential characters into your photo with you:


I find it really invites me to look for potential spots on the ground, which is something I might overlook normally.  It gets us to shoot from a whole new perspective.
Some questions I often get around these photos tend to be about how to get them focused where you are standing.  The easiest way is of course using a remote.  That way you can just put your camera on the ground, stand in front of it, press the remote and your camera will focus on where you are standing and take the photo.
Of course, quite often, I am out strolling with my camera without my remote.  You can absolutely still get a great shot without it.  When recommending shooting with only your camera timer, I usually recommend standing near something that the camera can focus on.  That doesn’t always work for me when shooting from the ground.  So here are some great options:
  • Shoot close enough that you can stand where you want to and have the camera facing you.  Then just reach over and press the button!  This would be a great option for a point and shoot or DSLR
  • Use your manual focus to pick a distance.  I usually note the distance away in feet and just count out the steps away.  This can be a bit hit or miss but is the way I do it most often.
  • I also usually shoot with a really really shallow depth of field (oh beloved bokeh…i’m addicted to you) so it makes it even more challenging as I’m giving myself a really narrow point of focus as you can see in this photo above.  You can also just try making it a bit less depth of field (a narrower aperture) to give yourself more of an area to be near the point of focus.
  • Embrace the mistakes.  I love photos that end up a bit blurry.  So if you mistake the distance away using the above technique, keep it!  You might find you love it.


I hope this is helpful!  If any questions about shooting from the ground arise, ask in the comments!  Or share your favourite ‘Shooting from the Ground’ Photo…just link to it in the comments below!

Smitten with Pixlr

sample image

I’m getting mighty excited to run Swan Dive one more time, this April.  I’ve got all sorts of good things I’m adding to it including some fab new interviews and extra goodies.

One of the things I’m working on this week is a Swan Dive resource guide to all of the fabulous options for post-processing online.  There are so many good options coming up, all with their own pros and cons.

Yesterday I came across this fabulous one: Pixlr and oh my is it good.  I was going to save it to share with the participants but it is so good that I didn’t want to not spread the word.

What I’m loving about Pixlr is:

  • It has the same layout as Photoshop in a lot of ways, minus many of the confusing non-intuitive weird way Photoshop organizes things.  Things have a similar placing as Photoshop so it makes it really comfortable if you are used to Photoshop but way more accessible if you haven’t used pshop before.
  • You can do layers with it!  Perfect!  We explore layers and textures quite a bit in Swan Dive so this will be one of my highest recommendations for a program to play with layers in (and I will be making a special how-to video for class about using layers with this program)
  • Within Pixlr they also have lots of options for effects like sepia, cross processing and monochrome.  So awesome.
  • The have an option called Pixlr Express that is a bit more Picnik like, for those of you who are more comfortable with a less Photoshop-style program.  I played around with the above image in Pixlr Express.
  • They also have an adjoining site called Pixlr-o-matic which has a tonne of creative effects and options (borders, textures and lots of vintage tones to play with).  Plus as you are working on your images it looks as though you are playing with them in a bin in a darkroom.  Loving that energy to it.


The only cons I have for this program (which really aren’t cons, but rather the only reasons I’ll still stay using photoshop)

  • This was always one of my beefs with Picnik too, that when you upload your image, it always looks to me as though it is a bit more dull than what the image looks like on my computer outside of the program.  For the most part this doesn’t matter at all as you are there to get playful with post-production but it tends to make me feel like the image is a little bit degraded already and I have to do some altering to get it back to the way it looked like origially.
  • The only other reason I’ll likely still use Photoshop alongside Pixlr is that you can use ‘Actions’ that you upload or create.  Creating actions or using ones that other folks made allows you to repeat an effect on multiple images.  They rock and will be why my relationship with Photoshop will continue!


For those of us who love the ease of Picnik, this will be a bit different as it is styled more like Photoshop but it really does allow for more control over your image and lots of options plus with their Pixlr Express and Pixlr-o-matic option there is more of a Picnik style energy and ease to it.

Seems like the best of both worlds to me!  Go try it!

If you are craving lots more inspiration about the creative process of post-production, come join Swan Dive!

10 Great Places to Take Self-Portraits

One super fun way to get inspired to take self-portraits is by seeking out great locations to take our photos.  It might be around your home or out ‘n about in the world.  I wanted to share 10 of my favourite places to take self-portraits with you!

So lets get started!


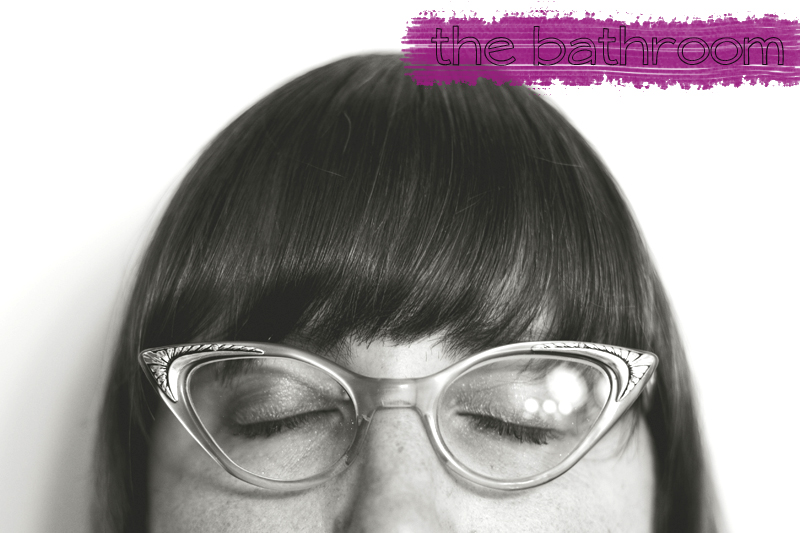
bathroom

A bathroom is the perfect place to take a self-portrait. It is a place where it is okay to take a few minutes to yourself, so why not take a moment for a few photos.  As a bonus, they often are a room in a home that has great light and a mirror so a perfect place to start exploring taking self-portraits or to take a few photos any time of the day.
You may even find yourself inspired by bathrooms when you are out and about at restaurants or cafe’s!

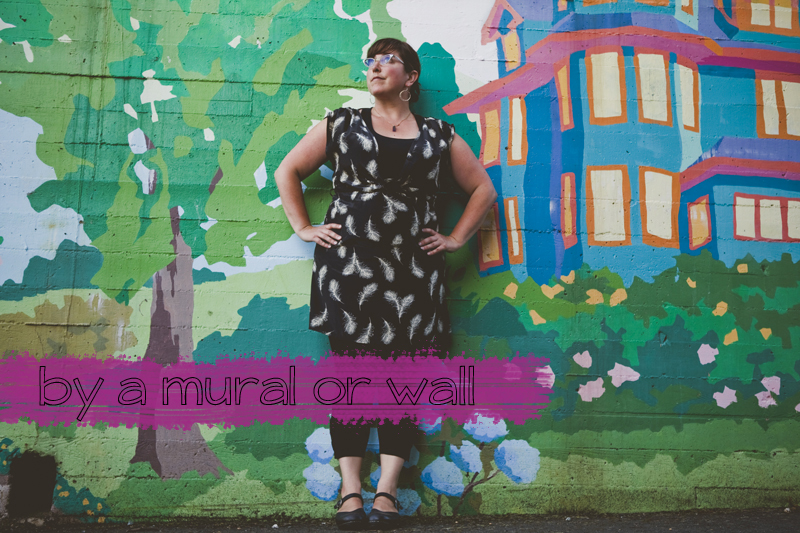
mural

A mural or brightly painted wall in your neighbourhood adds a stunning background to a self-portrait.  Using a wall as a background also allows our camera to have something to focus on as we are taking the photo.  Plus they tell a great story.

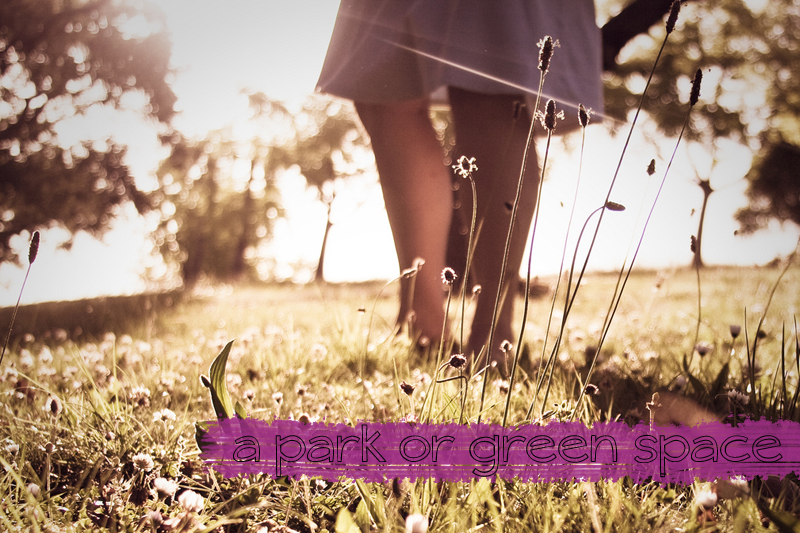
park

A nearby park or green space may quickly become your favourite place for a self-portrait.  The bigger the park, the more you can explore and find a spot that feels right for you.  If there is a park or green space near where you live, it can be really powerful to visit it throughout the year and take photos, noting the changes in season.

These spaces can be anything from a small wildly growing trail between houses, a public park, a community garden, or even a cemetery.  The above photo was taken way up in the beautiful hills above the Mountain View Cemetery in Oakland, California.  One of my favourite places to shoot locally is the stunning Vandusen Gardens.  Most days though, the ravine a block from my home or the park nearby were fabulous places to both go for a stroll as well as to engage in some self-portrait adventuring.

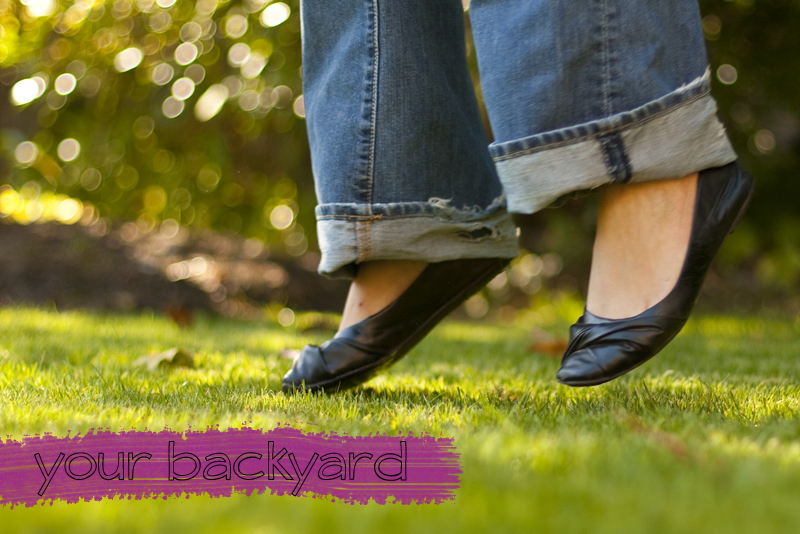
backyard

A backyard is often one of the most useful places to take a selfie!  Often more private and enclosed, you can get dressed up or bring out a few props for your photos without carrying them too far.  Its easy to get inspired and head back inside for a change of clothes or to get more things to as props in your photos.

sidewalk

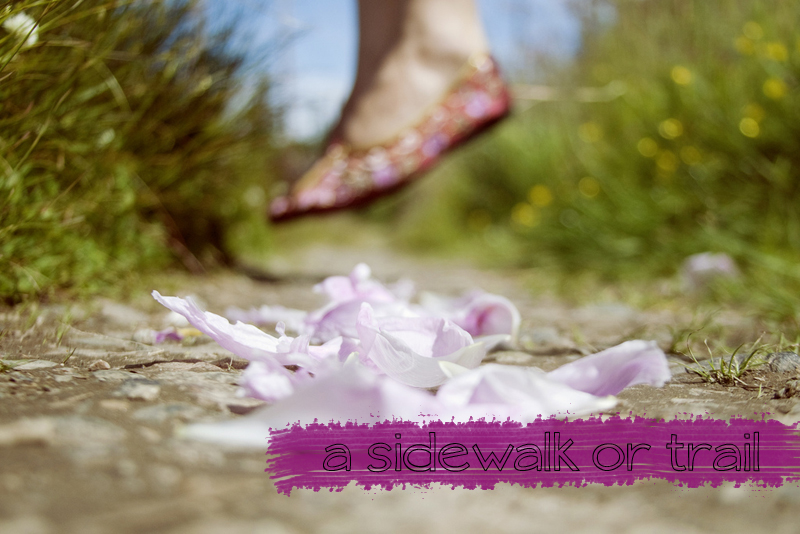
A sidewalk or path can provide an engaging visual in a photo.  The way each side draws the viewer into the center of the image can make for a striking image.  It also invites the viewer into the story of the image. Where does the path lead? Where is she going?

As well, it is a really simple place to take a photo.  In a moment when I see light rays falling on the sidewalk, I head outside with my camera and take a photo of myself standing in the light before the moment passes and the light is gone.  If I only have a few moments for a photo walk I will often just go around the block and find a spot on the sidewalk that has a good background.  Your self-portraits don’t need to be a grand affair…they can also just be taking a few moments to yourself as you walk around the block and documenting that.

tree

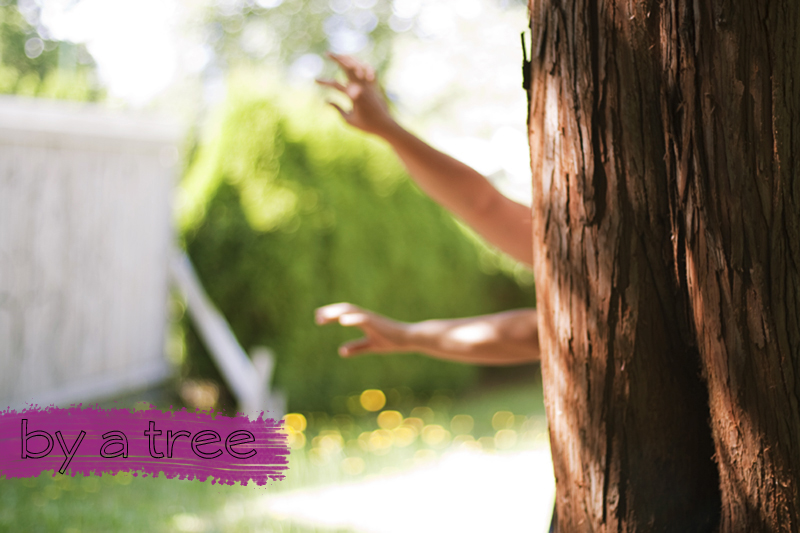
One of the challenges the students in my classes often come across and ask about it “How do I set up a self-portrait and get it to focus without standing in front of it?” Having something to stand beside in your self-portrait allows your camera to have a subject at the same distance to focus on while you are getting from pressing the button to in the shot.  Plus they can visually add some texture and tone to your photo or give you something to hide behind or hug!

bytheshore

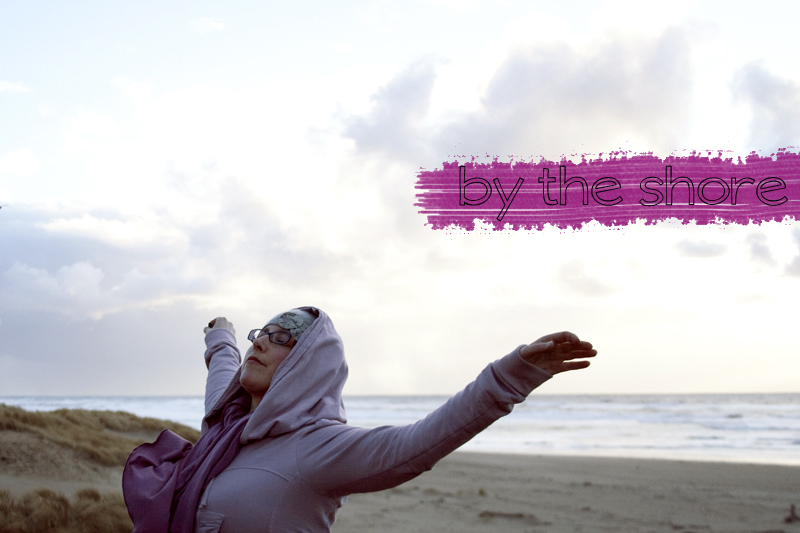
By the waters edge or shore is a great place to take a photo.  The contrast of the shore and the water, the lines and the colours that appear during sunset make it one of my favourite places to shoot a self-portrait!

If you are watching a sunset by the water some day, why not try setting up your camera and shooting a photo of your silhouette against the sky.

somewhereofmeaning

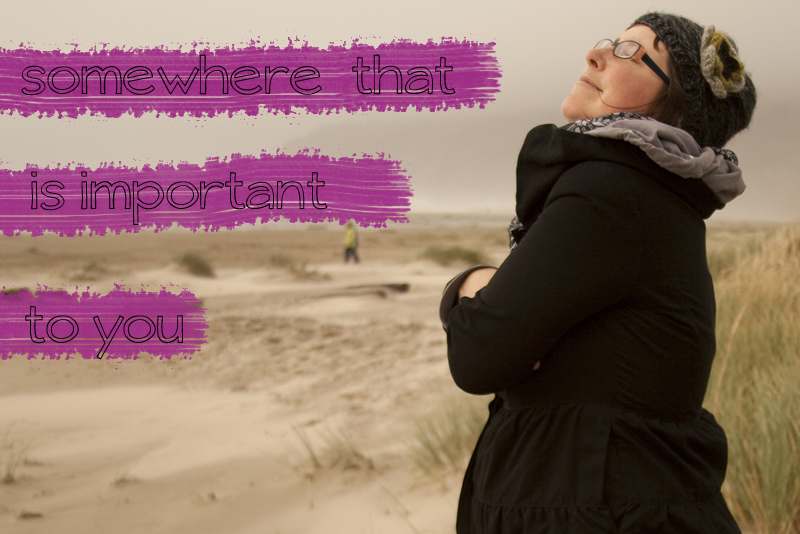
One of the best places to shoot a self-portrait is somewhere that holds meaning to you.  It could be your home, a place you visit, a place that has history for you, or a place you just discovered but feel at home.  Allowing your setting to help you tell a story in your photos makes for a very powerful photo!

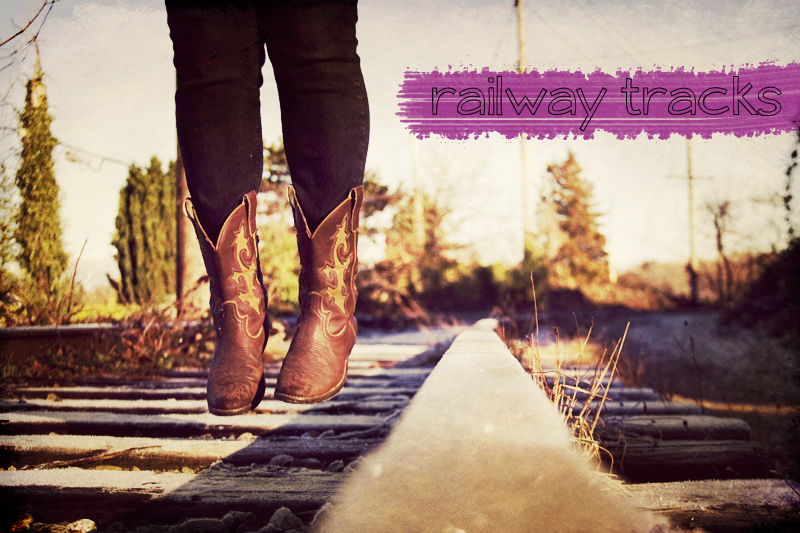
railwaytracks

Abandoned Railway Tracks are one of my favourite spots to take self-portraits.  The simple lines of the tracks are so visually engaging and invite a strong story into the photo.  Much like a path or sidewalk, it engages the viewer in a way that pulls them right into the photo.  I love simply putting my camera on the rail and taking a photo from that perspective.

Please do make sure they are tracks that no longer run trains though!

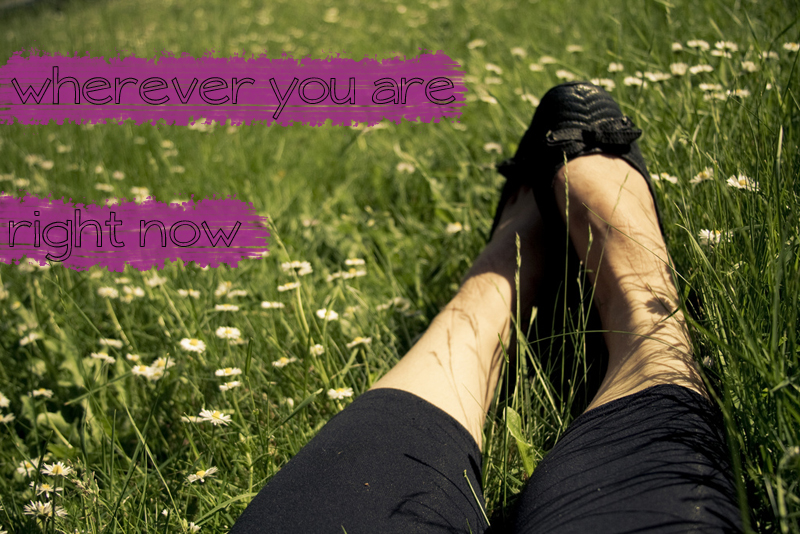
rightnow

What is a better setting to share in a photo than the place you are, right here, right now.  A way to just pause and check in with yourself and take a photo of this day.

Do you have a favourite spot to take self-portraits? I’d love to hear about it…and please feel free to share links to your blog or flickr and share a photo of your favourite place to take a self-portrait!  Or add the hashtag #beyourownbeloved on Instagram or Twitter to share your favourite places with us!

Or if you’d like even more self-portrait inspiration, come join me for the upcoming session of the Be Your Own Beloved class!

Nextbyobeloved